Congratulations! You’ve poured your heart and soul into your comic book creation. Now comes the exciting (and sometimes daunting) part: transforming your digital masterpiece into a physical, tangible experience for readers. This guide will walk you, the passionate comic book creator, through every step of the comic book printing journey, from prepping your files to those glorious first copies arriving on your doorstep.
Pre-Press Preparation: Getting Print-Ready
Before diving headfirst into printing companies and paper choices, some crucial pre-press prep ensures a smooth ride.
- File Formatting: Most comic book printing services require high-resolution files (usually 300 dpi or higher) in formats like PDF, TIFF, or PSD. Double-check their specific requirements to avoid delays.
- Bleed and Trim Marks: Bleed refers to the area that gets cut off during the final trimming process. Extend your artwork slightly beyond the desired trim size to avoid unsightly white borders. Trim marks, on the other hand, indicate where the final cut should be.
- Color Mode: Ensure your artwork is in CMYK color mode, the standard for printing. RGB (often used for digital displays) won’t translate accurately to physical prints.
- Proofreading is Key: This might seem obvious, but typos or errors in your script can be incredibly frustrating (and expensive!) to fix after printing. Get multiple sets of eyes on your work before finalizing the files.
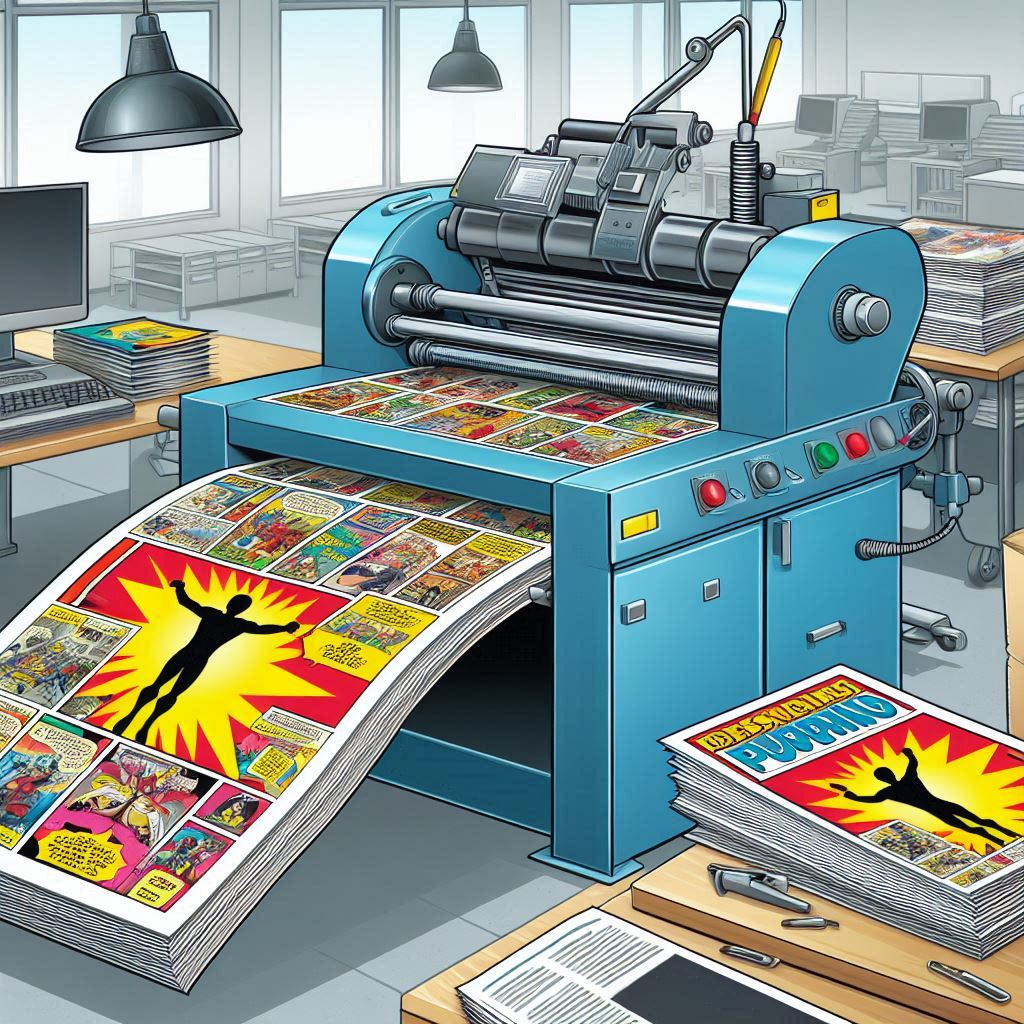
Printing Options: Diving Deeper
Now that your files are polished and print-ready, let’s explore the exciting world of comic book printing options:
- Digital vs. Offset Printing: For smaller print runs (typically under 1,000 copies), digital printing offers a quicker turnaround and lower upfront cost. Offset printing, on the other hand, excels in larger quantities, delivering vibrant colors and sharper details.
- Full Color vs. Black and White: This depends entirely on your artistic vision. Breathtaking, full-color epics will obviously require color printing. However, black and white printing can create a stunning, classic aesthetic, especially for character-driven stories with a focus on bold lines and stark contrasts.
- Consider Printing Companies: Research reputable comic book printing services that cater specifically to your needs. Look for companies that offer high-quality results, competitive pricing, and excellent customer service. Don’t hesitate to reach out and ask questions – a good printing partner will be happy to guide you through the process. Bonus tip: ask about previous artists the company has worked with to see examples of their production quality.
Paper Selection: The Foundation of Your Comic
The paper you choose plays a crucial role in the overall feel and quality of your comic book. Here are some key considerations for comic book printing paper:
- Paper Weight: Standard comic book paper ranges from 60lb to 100lb text weight. Lighter paper is easier to handle but might feel flimsy. Heavier paper offers a more premium feel but can increase printing costs.
- Interior Paper: This is where your story unfolds. Popular choices include gloss-coated paper for vibrant colors and a slick feel, or uncoated paper for a more traditional, matte finish that’s easier on the eyes for extended reading.
- Cover Paper: This is your first impression, so opt for a slightly heavier weight with a glossy or UV-coated finish for extra impact. Consider unique textures or metallic accents to make your comic stand out on the shelf.
Binding Choices: Holding it All Together
The binding method you choose determines how your comic book’s pages are held together. Here are the two most common options:
- Saddle-Stitched Binding: This is the classic comic book binding, similar to a stapled magazine. It’s a cost-effective option that works well for most comic book formats.
- Perfect Binding: This creates a more professional, book-like feel with a glued spine. This option usually requires a higher minimum order quantity from the printing company.
Finishing Touches: The Final Flourish
Once the printing and binding are complete, consider some finishing touches to elevate your comic book:
- Spot Gloss/Varnish: Apply a glossy finish to specific areas of your cover art for a striking visual effect that draws readers’ attention.
- Die-Cutting: This technique cuts out custom shapes on your cover, adding a unique, eye-catching element.
- Foil Stamping: Add a touch of luxury with metallic foil stamping on your cover title or logo.
Remember, these finishing touches add to the production cost, so weigh the impact against your budget.
The Final Word: Your Comic Awaits!
With careful planning, informed decisions, and a touch of creative flair, you can transform your comic book from a digital file to a tangible treasure for readers to hold, cherish, and share. This guide has equipped you with the knowledge to navigate the world of comic book printing. Remember, the journey from script to shelf is an exciting adventure. Embrace the process, celebrate your creation, and get your comic out there for the world to see!
Bonus Tip: Don’t forget to explore online resources and comic book creator communities for additional tips, tricks, and inspiration on the comic book printing journey. There’s a whole world of passionate creators out there ready to support your artistic endeavors. Now, go forth and bring your comic book vision to life!
Contact us with any questions about our comic book printing services
For more helpful information check out our blog at: /advice-from-the-printer/
And for more information on Inkwell Printing Company check out our website at: www.inkwellstl.com